
Summer · 5 min
Wiring without scarring the bark
Choosing the gauge, the angle of the coils and when to remove the wire so the branch holds its position without scars.
Wire is the tool that lets you shape a bonsai in months instead of decades. Applied well, it holds a branch in its new position until the wood sets and stays there on its own. Applied badly or removed too late, it leaves spiral scars in the bark that take years to disappear, and on some species never do. This guide explains how to choose the wire, how to apply it and, above all, when to take it off.
When to wire
Each type of tree has its moment:
| Type of tree | Best time | Why |
|---|---|---|
| Deciduous (Chinese elm, maples, zelkova) | Late winter, bare | You can see the whole structure and branches are flexible before budding |
| Deciduous, second window | Summer, once new shoots have hardened | Young branches can take the wire |
| Pines and junipers | Autumn and winter | Growth is slow and the wire takes longer to bite |
| Tropicals (ficus, Fukien tea) | During the growing season, in warmth | They heal well but thicken fast: keep an eye on them |
Avoid wiring a freshly repotted or weakened tree. Bending branches is also an effort for the tree.
Aluminium or copper
| Anodised aluminium | Annealed copper | |
|---|---|---|
| Stiffness | Soft, easy to bend | Harder; holds with a thinner gauge |
| Who it suits | Beginners and deciduous trees | Conifers and experienced growers |
| Advantage | Can be repositioned without harming the branch | Work-hardens as you bend it and does not give |
| Gauge | As given by the one-third rule | About two thirds of the aluminium gauge |
To start, a set of 1–4 mm aluminium covers almost every branch of a young tree.
Choose the gauge
The general rule: the wire should be about a third of the branch thickness. If the wire gives when you bend the branch and the branch springs back, go up a gauge. If it is hard to wrap or crushes the bark, go down one.
| Branch thickness | Suggested aluminium wire |
|---|---|
| 2–3 mm | 1 mm |
| 4–5 mm | 1.5 mm |
| 6–8 mm | 2–2.5 mm |
| 9–12 mm | 3–4 mm |
| Over 12 mm | Two wires side by side, or guy wires |
How to apply it
- Anchor the wire. Loose wire holds nothing. Anchor it with a couple of turns around the trunk, or wire two branches with a single wire: run it across the trunk from one to the other, so each branch anchors the other.
- Coils at about 45 degrees. Coils that are too tight do not hold, and neither do coils that are too open. Keep the angle steady along the branch.
- Neither loose nor tight. The wire should touch the bark without biting into it. If there is a gap, the branch will not hold; if it presses, it will mark within weeks.
- Go round the outside of the bend. At every point where you will bend, the wire must sit on the outside of the curve. To lower a branch, the wire has to cross over the top of it right at the bend.
- Do not run two wires over the same spot or cross wires. If you need two, lay them side by side.
- Go all the way to the tip. Fine end twigs are wired with thinner gauges, after the main branches.
- Protect leaves and buds. Do not trap them under the wire.
How to bend
Hold the branch with both hands, thumbs on the outside of the curve, and bend slowly, in several stages. Your thumbs spread the force and stop the branch splitting. If you hear a soft crack, stop: the bark is separating. Thick branches are first wrapped in damp raffia under the wire, which spreads the pressure and keeps the bark moist.
Bending a branch to a right angle in one go rarely works. It is better to bring it towards its final position over two or three sessions in the course of a year.
How long to leave it
There is no fixed figure: it depends on how fast the branch thickens.
- Deciduous trees and tropicals in spring and summer: 4–8 weeks. They thicken very quickly.
- Conifers: six months to a year.
- Thick, old branches: longer, because the wood takes longer to set.
Check the tree every two weeks in the growing season. As soon as the wire starts to sink into the bark, remove it, even if the branch has not fully set. If it springs back, you can rewire with the coils on a new path.
How to remove it
Cut the wire off in pieces with wire cutters, coil by coil. Do not unwind it: unwinding twists the wire against the bark and tears it, especially once it has started to bite. It is slower, but it is the only safe way.
If it has already marked
It is not a disaster, but each species reacts differently:
- Pines and junipers: old bark eventually covers the mark over the years.
- Elms, ficus and other fast growers: the mark fills in within two or three seasons.
- Maples and smooth-barked trees: the mark may stay visible for good. That is why they need the closest watching.
Common mistakes
- Wire that is too thin. The branch will not stay in place.
- Not anchoring the wire. The first coil spins and the branch does not move.
- Uneven coils and crossing wires.
- Forgetting the wire in the middle of spring.
- Unwinding instead of cutting.
- Wiring the whole tree when it has just been repotted or is weak.
What it is all for
Wire is a means, not an end: it lets you place branches like those of an old tree, more open and angled slightly downwards, and create the trunk movement that defines each style. If you want to understand what you are aiming for with each branch, look through the parts of a bonsai.
Species this applies to


What you need
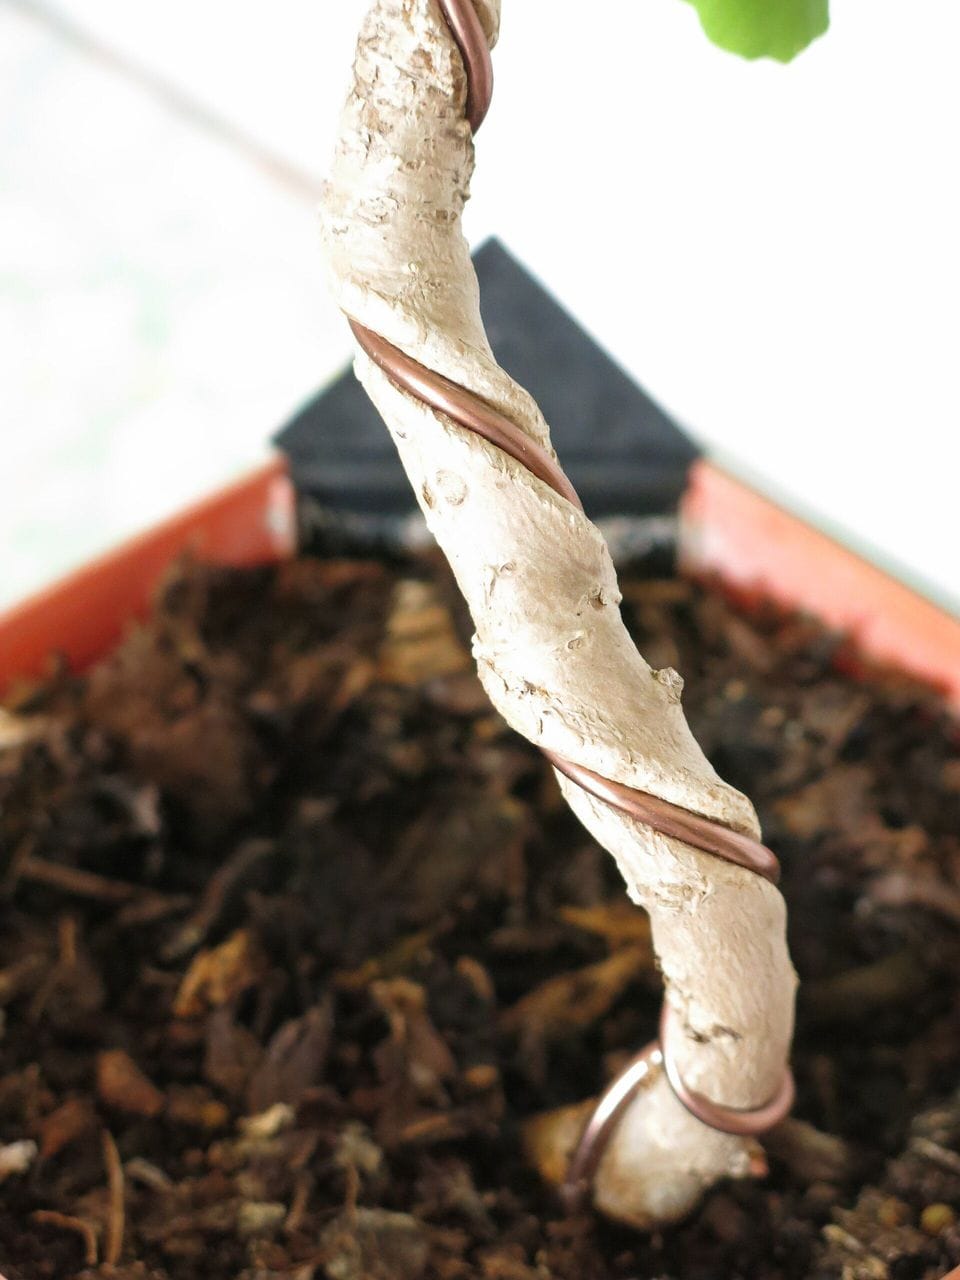
Photo: Tangopaso / Wikimedia Commons · Public domain WiringAnodized aluminium wire · several gauges
Soft and easy to remove. A 1 to 4 mm set covers nearly every branch of a young tree.
- Gauges
- 1 · 1.5 · 2 · 3 · 4 mm
- Use
- Deciduous and conifers
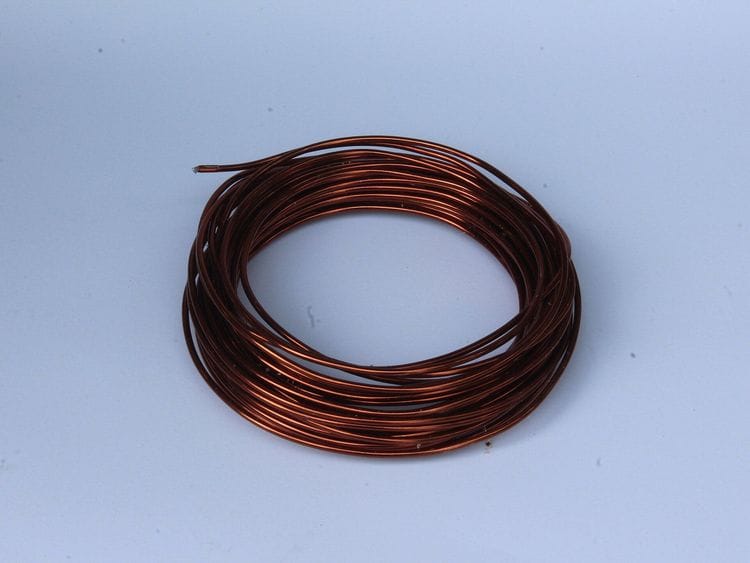
Photo: Hinnerk11 / Wikimedia Commons · CC BY-SA 4.0 WiringAnnealed copper wire
Holds more with less thickness than aluminium. The classic for pines and junipers, though it takes a little more practice.
- Gauges
- 1–4 mm
- Use
- Conifers
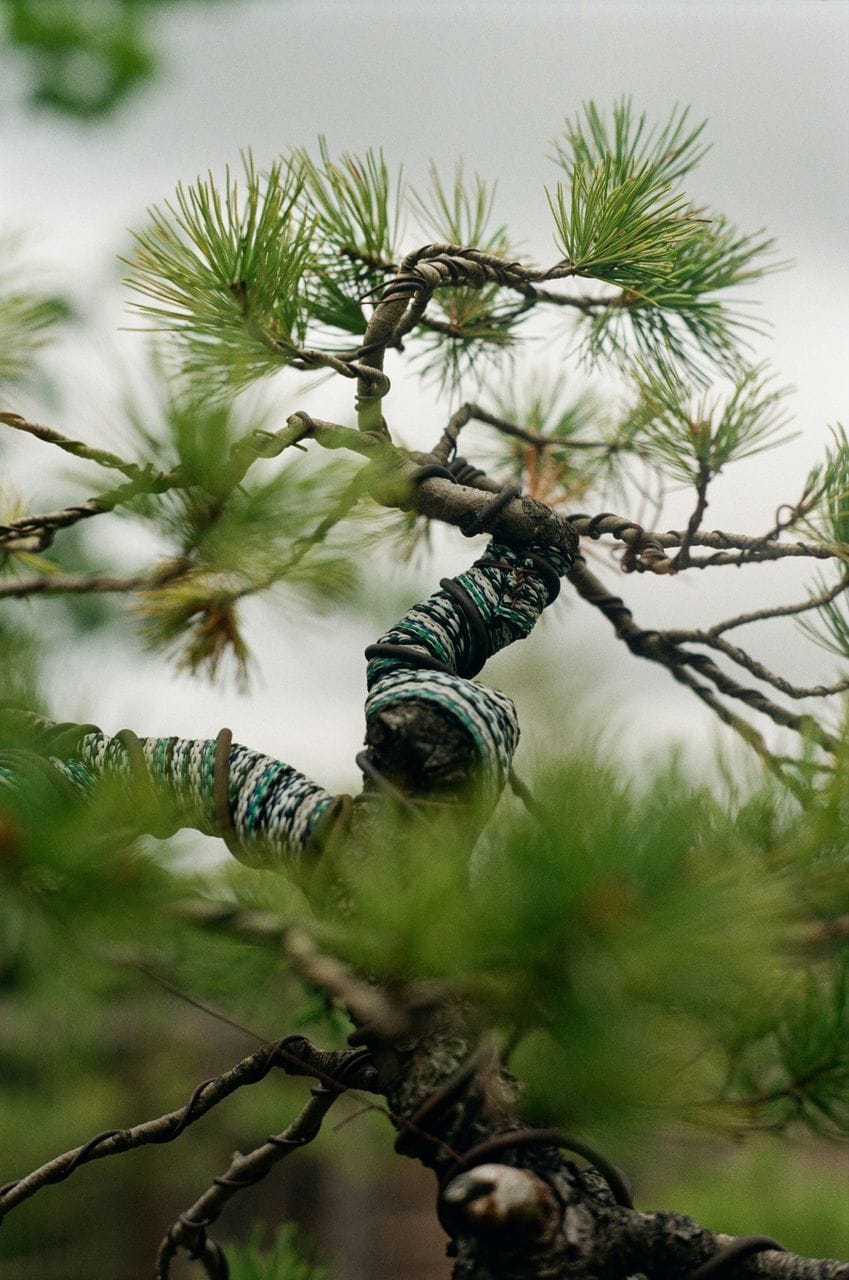
Photo: Kristina Bekher / Unsplash · Unsplash License WiringBonsai wire cutter
Its tip cuts wire right against the bark without damaging it. Removing wire in pieces is the safe way.
- For
- Wire up to 4 mm
- Level
- All


