Spring · 6 min
Repotting step by step: roots, soil and pot
When to repot, how much root to remove and which mix to use for each species, with every tree’s calendar.
Repotting is intimidating because you see the tree out of its pot with its roots exposed. Done at the right time, it is the opposite of an injury: it renews the soil, lets air back into the roots and pushes the tree to grow new fine roots, which are the ones that actually feed the canopy. This guide explains when to do it, which mix to use and how to work step by step.
Why trees need repotting
Two things happen in the pot over the years. First, the soil breaks down. Akadama slowly crumbles into dust, the gaps between particles close up and water stops draining well. Second, the roots fill the pot, start circling the edge and mat into a block that no longer absorbs efficiently.
A bonsai that needs repotting usually tells you:
- Water is slow to soak in or pools on the surface.
- Roots poke out of the drainage holes, or the tree "rises" in the pot.
- The tree loses vigour year after year even though you water and feed it well.
- When you lift it, the root ball comes out whole, as a solid block of roots.
How often
It depends on the tree's age and species:
- Young trees and trees in development: every 1–2 years. They grow fast and you want them to keep doing so.
- Mature trees: every 3–5 years. You are no longer after growth, just healthy roots.
- Pines and other conifers: every 3–5 years, with gentler root pruning.
When, by species
The best moment is when the tree has reserves and is about to grow, so it heals and produces new roots straight away.
| Type of tree | Timing | Sign on the tree |
|---|---|---|
| Deciduous (Chinese elm, Japanese maple, zelkova) | Late winter | Buds swelling but still closed |
| Pines and junipers | Early spring, a little later than deciduous trees | Buds lengthening ("candles") |
| Tropicals (ficus, Fukien tea) | Late spring or early summer | Nights steadily above 15–18 °C |
| Azaleas (satsuki) | Straight after flowering | Flowers spent, before the summer flush |
| Olive and pomegranate | Late spring | Steady warmth; they leaf out late |
Avoid repotting in high summer, when the tree is under heat stress, or in late autumn, when it will not have time to grow roots before the cold.
What you need
- Sifted soil (no dust) and some coarse grit for the bottom.
- Mesh to cover the drainage holes.
- 1.5–2.5 mm aluminium wire to tie the tree into the pot.
- A root rake or chopstick to loosen the root ball.
- Root cutters or strong scissors, and a concave cutter for thick roots.
- A mister so the roots do not dry while you work.
- A shady, sheltered spot. Fine roots dry out in minutes.
Which mix to use
Always a granular mineral soil. The proportions change with what each species needs:
| Species | Suggested mix | Why |
|---|---|---|
| Deciduous | 60% akadama · 20% pumice · 20% lava | Good water retention for leafing out |
| Pines and junipers | 30% akadama · 35% pumice · 35% lava | Fast drainage; conifers hate wet feet |
| Azaleas | 100% kanuma, or 80% kanuma · 20% pumice | They need acidic soil |
| Tropicals | 50% akadama · 25% pumice · 25% lava | More retention for heat and winters under cover |
| Olive, pomegranate | 40% akadama · 30% pumice · 30% lava | Drought-tolerant; they like fast drainage |
Sift each component through a 2–3 mm mesh. The dust you remove is what, over time, would clog the soil.
Step by step
- Prepare the pot. Cover the drainage holes with mesh and thread the tie-in wires through the anchor holes. Add a thin layer of coarse grit and a small mound of soil in the centre.
- Lift the tree. If it resists, run a knife or spatula around the inside edge of the pot. Do not pull on the trunk.
- Loosen the root ball from the outside in. With the rake, comb the roots outwards, away from the trunk. Remove the old soil from the bottom and sides, but leave the area right under the trunk intact.
- Check the roots. Cut out dead, dark or soft roots. Cut roots growing straight down under the trunk and any that cross or circle.
- Prune in moderation. On a healthy tree, remove no more than a third of the root mass, mainly thick roots, to encourage fine ones. On pines and weak trees, take less.
- Position the tree. Settle it on the mound and turn it until you find the front. Check the angle from a distance: this is the easiest moment to correct it.
- Tie it in. Cross the wires over the main roots and twist them until the tree does not move. A tree that rocks tears its new roots every time the wind blows.
- Fill. Add soil and work it in with a chopstick, using short vertical jabs so it settles between the roots without air pockets. Do not press it down with your fingers: compacting it removes the spaces you have just created.
- Water. Water slowly until it runs clear from the bottom, with no dust. It may take several passes.
- Finish the surface. If you like, add a thin layer of moss; it keeps the surface from drying out or washing away when you water.
Use the moment to work on the nebari
Repotting is the only time you can work on the surface roots, the nebari. As you comb the root ball, spread the roots that leave the trunk like a fan, in every direction, and remove those that cross or wrap around the trunk. A wide, radial nebari takes years to build and is what makes a bonsai look old.
After repotting
- Two to three weeks in shade, out of the wind. The tree has fewer roots than before to support the same canopy.
- Water with care. The new soil drains well, but a tree with fewer roots drinks less. Check before you water, as always.
- No fertilizer for four to six weeks. Cut roots need to heal. Resume feeding when you see strong new shoots.
- No heavy pruning in the same year on weak trees. A tree only has the energy for one big recovery at a time.
Common mistakes
- Repotting in summer or while the tree is pushing soft new leaves.
- Using potting compost "because it has nutrients". It suffocates the roots within months.
- Pressing the soil down with your fingers.
- Not tying the tree into the pot.
- Cutting half the roots off a weak tree. If the tree is struggling, repot with little root pruning and let it recover.
- Hosing all the soil off a pine's roots. Conifers live in symbiosis with soil fungi (mycorrhizae). Keep some of the old soil near the trunk.
You can see a good repotting within a month: firm new shoots, water that soaks in instantly, and a tree that grows more strongly the following year than it did before.
Species this applies to


What you need
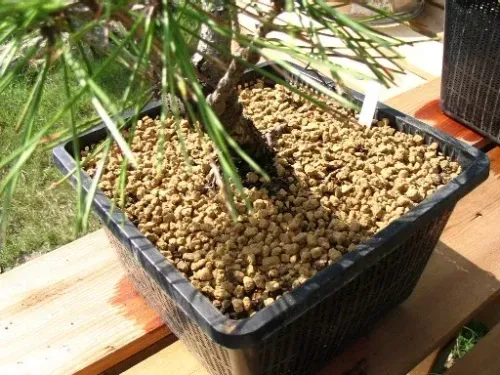
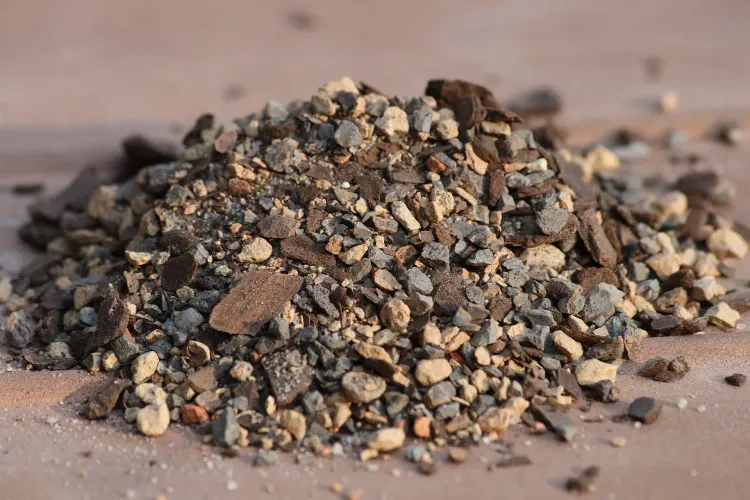
Photo: Globalist1789 / Wikimedia Commons · Public domain SoilHard-grade akadama · 2–5 mm
The base of nearly all our mixes: it holds water without waterlogging and changes colour as it dries.
- Grain
- 3–6 mm
- Mix
- 50–70 % with pumice
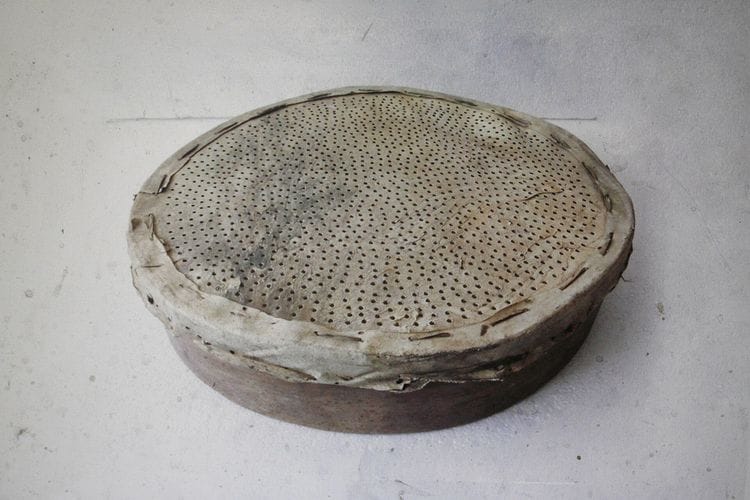
Photo: Toltecitztli / Wikimedia Commons · CC BY-SA 4.0 SoilSoil sieve set
Sifting out the dust is what improves drainage most. A set of three meshes lasts for years.
- Meshes
- 1.5 · 3 · 6 mm
- Use
- Before each repotting
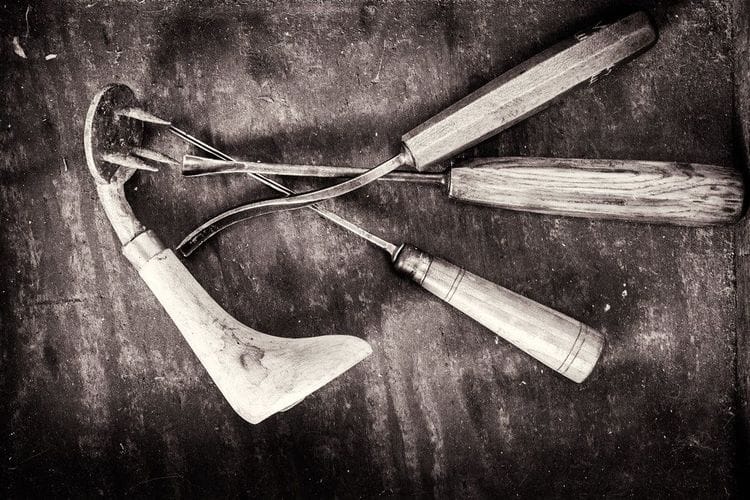
Photo: Cindy Shebley / Flickr · CC BY 2.0 ToolsThree-prong root rake
Combs the root ball from the outside in without tearing fine roots. Essential on repotting day.
- Prongs
- 3
- Use
- Repotting
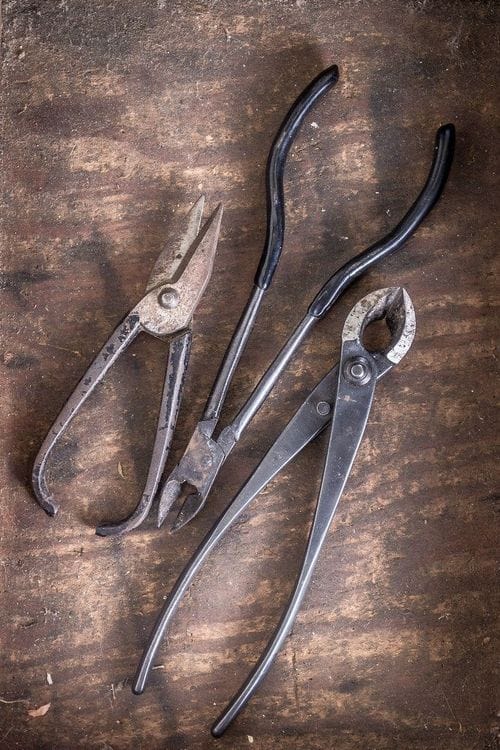
Photo: Cindy Shebley / Flickr · CC BY 2.0 ToolsSteel root cutter · 200 mm
Cuts thick roots and stumps when repotting without straining your concave cutter, which soil quickly blunts.
- For
- Thick roots and branches
- Use
- Repotting
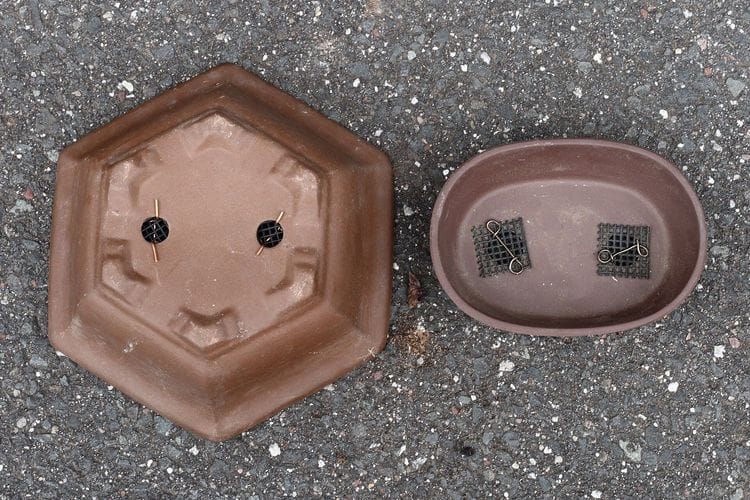
Photo: Ragesoss / Wikimedia Commons · CC BY-SA 3.0 PotsDrainage hole mesh
Keeps soil in and insects out of the drainage holes. Cut to size.
- Material
- Plastic
- Use
- Every repotting


- Soil
Pumice · 3–6 mm
Light, porous and stable: it brings drainage and air to the mix. The second base of nearly all our soils.
Grain3–6 mm · Mix20–50 %